It is also here for your reading pleasure. I'm not sure how well it will print or copy/paste from this site. I would be interested to know though, if any of you do take it from the blog.
------

- - - - -
Easy
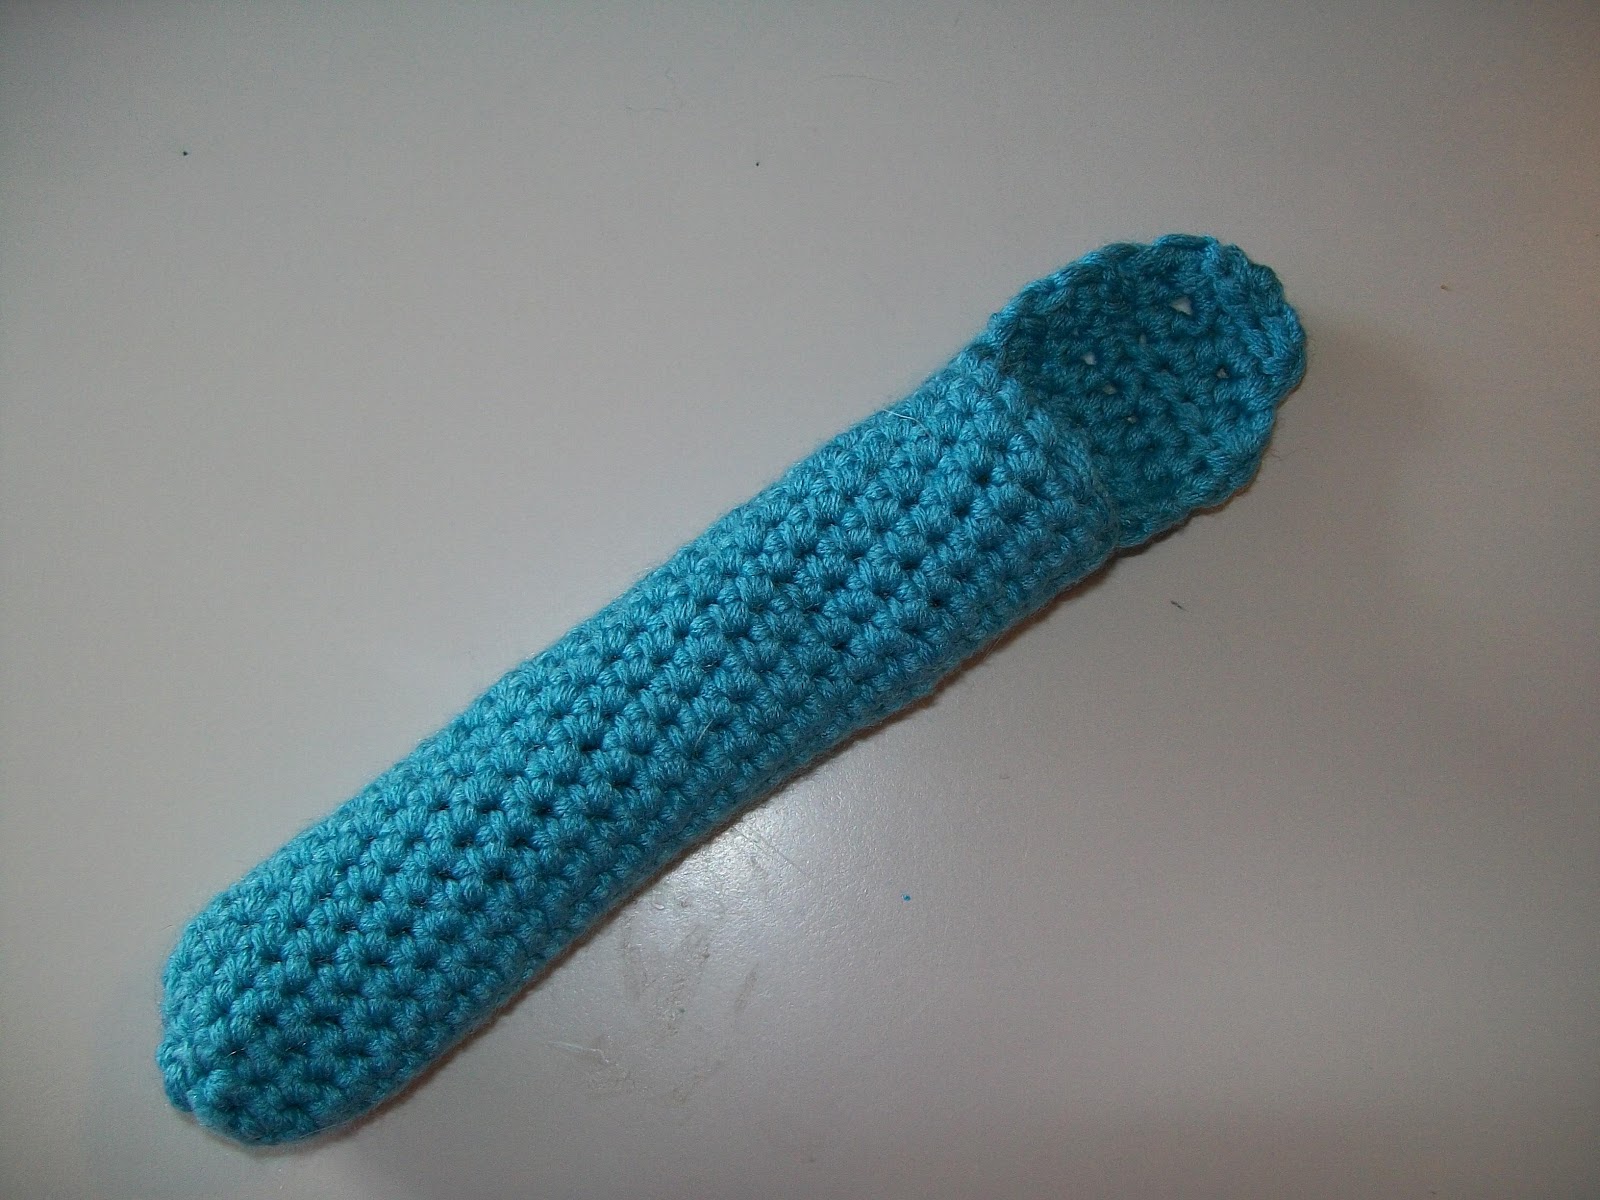
Crochet Hook Case
developed
by NCC-1701 for V Studios
This
pattern is worked in the round rather than joined, so the stitches
will have a spiral effect to them. It is suitable for beginners.
Gauge
is not important in this project. Choose a yarn and hook that are
compatible and make a tighter stitch since you don't want your hooks
slipping through the stitches. You can also line the case easily for
added protection.
If
you use longer or shorter hooks, simply add more rows to reach the
desired length. Both of mine are 5 1/2 inches long without the flap.
Stitches
used:
ch
- chain
sl
- slip stitch
sc
- single crochet
hdc
- half double crochet
hdc2tog
- half double crochet 2 together (decrease)
Tutorial
on using magic circle: Magic Circle
Tutorial
on hdc2tog: hdc2tog Tutorial
(I
do not own these videos. I simply offer them as educational devices)
Materials:
Cascade
220 100% Wool (Worsted Weight)
H8/5mm
hook
(case
ended up about 4" around)
---or---
Berroco
Comfort DK
G6/4mm
hook
(Case
ended up about 3 3/4" around)
Stitch
Marker
Tapestry
Needle
Case
Place
the marker on the last st of each round to keep track of your rounds.
Magic
Circle, Ch1 (does not count as a stitch)
Round
1 - 5 sc, join with sl to ch1 (5 sts)
Round
2 - sk ch1 sp from mag cir. 2 sc in each sc around (10 sts)
Round
3 - *1 sc in next sc, 2 sc in next sc* repeat from * to *, ending
with 2 sc in last st (15 sts)
Round
4 - 1 sc in ea sc around (15 sts)
Round
5-25 (30) - Repeat Round 4 (DK weight)
Check
the circumference with your own hooks after Round 5. I have 10, so
this size works for me. If you have more than that, take out two
rounds and repeat Round 3. If you do, however then your number of sts
won't match what is in parenthesis.
End
with sl, but do not finish off or weave in. You will start the flap
from this point.
Notes:
you will find that you're working from the inside of the project
outward. You may find it easier to turn the tube inside out at the
beginning of Round 5 and work from the outside in. Then you can just
turn it right side out when you're finished.
FLAP
The
flap should be about the size of half of the case. If you have 15 sts
in your rounds, then the flap should cover about 8 sts. If you have
20 sts in your rounds, then your flap should cover about 10 sts.
Row
1 - Ch 1, *hdc in next 8 sc across, ch 1 & turn*
Row
2 & 3 - Repeat R 1 from * to *
Row
4 - hdc2tog, hdc in next 4 sts, hdc2tog, ch 1 & turn
Row
5 - hdc2tog, hdc in next 2 sts, hdc2tog, ch 1 & turn
Row
6 - sl across in ea st, FO and weave in ends.
Don't forget to pull your magic circle closed all the way before weaving in that end.
You
can put a button or any kind of closure you like on the flap. I
prefer to just use a safety pin style stitch marker.
You
can find me on Ravelry. NCC-1701
Follow
my blog @ Random
Craftacular
Email:
Creative.Beautiful.You@gmail.com
No comments:
Post a Comment